
One of the problems I faced going into this recipe was what vessel to cook the chicken in. I don't own a Fry Daddy 5000 or a 3000 for that matter. The only thing I had that might of worked was a large stock pot but I didn't think it was wide enough. So yesterday afternoon, a mere 3 hours before undertaking this feat, I decided to see what Target had for dutch ovens. I've wanted to get one for a while now and since I knew I'd use it for more than just this recipe I decided it was worth it. I'm not saying you have to go out and buy a dutch oven to make this recipe, it's just what I did and I think it helps.
By now you're probably saying to yourself, "get on with the recipe already," "where are all the cool pictures?", "too many words, I don't have time to read all this...", and so on. Ok, enough already, let's get cooking.
Here is the recipe if you want to follow along:
http://www.foodnetwork.com/recipes/tyler-florence/fried-chicken-recipe3/index.html
 |
| Most of the ingredients, minus the chicken. (No peeps were harmed in the making of this chicken.) |
The recipe calls for a 3-4 lb chicken cut up into pieces. Unless you enjoy and are good at butchering chicken (I'm not), save yourself some time and buy a whole chicken already cut up. You could also just buy the pieces you enjoy. I bought an few extra legs cause I'm a leg man and I wanted to have enough to share with those not available to be here. The chicken pieces go into a water salt bath and sit overnight or at least two hours. I did it overnight. When you've waited 2 hours or overnight or anywhere in between it's time to make up the flour mixture.
 |
| Mountain of spicy goodness |
I didn't make any changes to the recipe for this. Mix it all up with a fork or a whisk and you're almost ready. Make sure you have a deep and wide enough bowl or be prepared to cleanup flour and spices from all corners of your kitchen, which I had to anyways cause somehow it got on my new slippers and I tracked it around the floor.
After the mixture is ready, get the buttermilk and Srirachi ready to go for the dipping. Here I only used 1 tablespoon of the chili sauce to keep in on the milder side. Adjust according to desired heat level. Now on to the fun part, assembling the chicken.
Get your ducks, or in this case chicken in a row to facilitate the dipping breading dipping mixture process.
 | |||||
| Pictured from left to right (buttermilk, flour, chicken, and more chicken). Microwave shows 5:10pm. Not necessary to cook at this time. |
After coating the chicken which is very messy and fun, you will end up with something that looks like this.
 |
| Coated chicken. Some legs, thighs, wings, and maybe a breast or two. |
At this time you have to get the oil together. Not much to it. Just pour enough oil in a pot or in this case a dutch oven so it comes up about halfway. Leave enough room for the oil to rise when you add the chicken. I think I learned that law of displacement or something like that back in school when a person gets into a tub of water and the water rises. Same thing here except the person is chicken pieces and the water is oil.
 | |
| Dutch oven with vegetable oil (recipe calls for peanut oil but that stuff is mad expensive so I opted for this and it worked well), rosemary, thyme, sage, and garlic. Also note the thermometer. Very important for getting the correct temperature for frying. Around 350 degrees Fahrenheit. |
 |
| WARNING!! When cooking with large amounts of hot oil there is a risk of the oil catching fire and burning stuff (happened on Top Chef last week). I had this handy dandy fire extinguisher ready just in case that happened. It also made the wife feel better about this cooking adventure. |
And now the waiting game begins.
 |
| 280 degrees (about 15 minutes in) |

300....almost there.
 | ||||
| 350!!!!!!!! Nice job being patient. |
 |
| Oil will be all bubbly and temperature will drop after adding the chicken. You might have to turn up the burner to keep the temp around 300. I had to but I think I also overcooked a few pieces that way. If you do, you can just call them "extra crispy." |
Remove cooked chicken and place on paper towels to soak up the oil.
 |
| You can also use a dish towel or brown paper bag. If you can see through the paper then you know it's ready. You can also rub the chicken on the wall and if you can see through the wall it's really done. |
To keep the chicken warm while cooking the batches I suggest putting them on a rack in the oven.
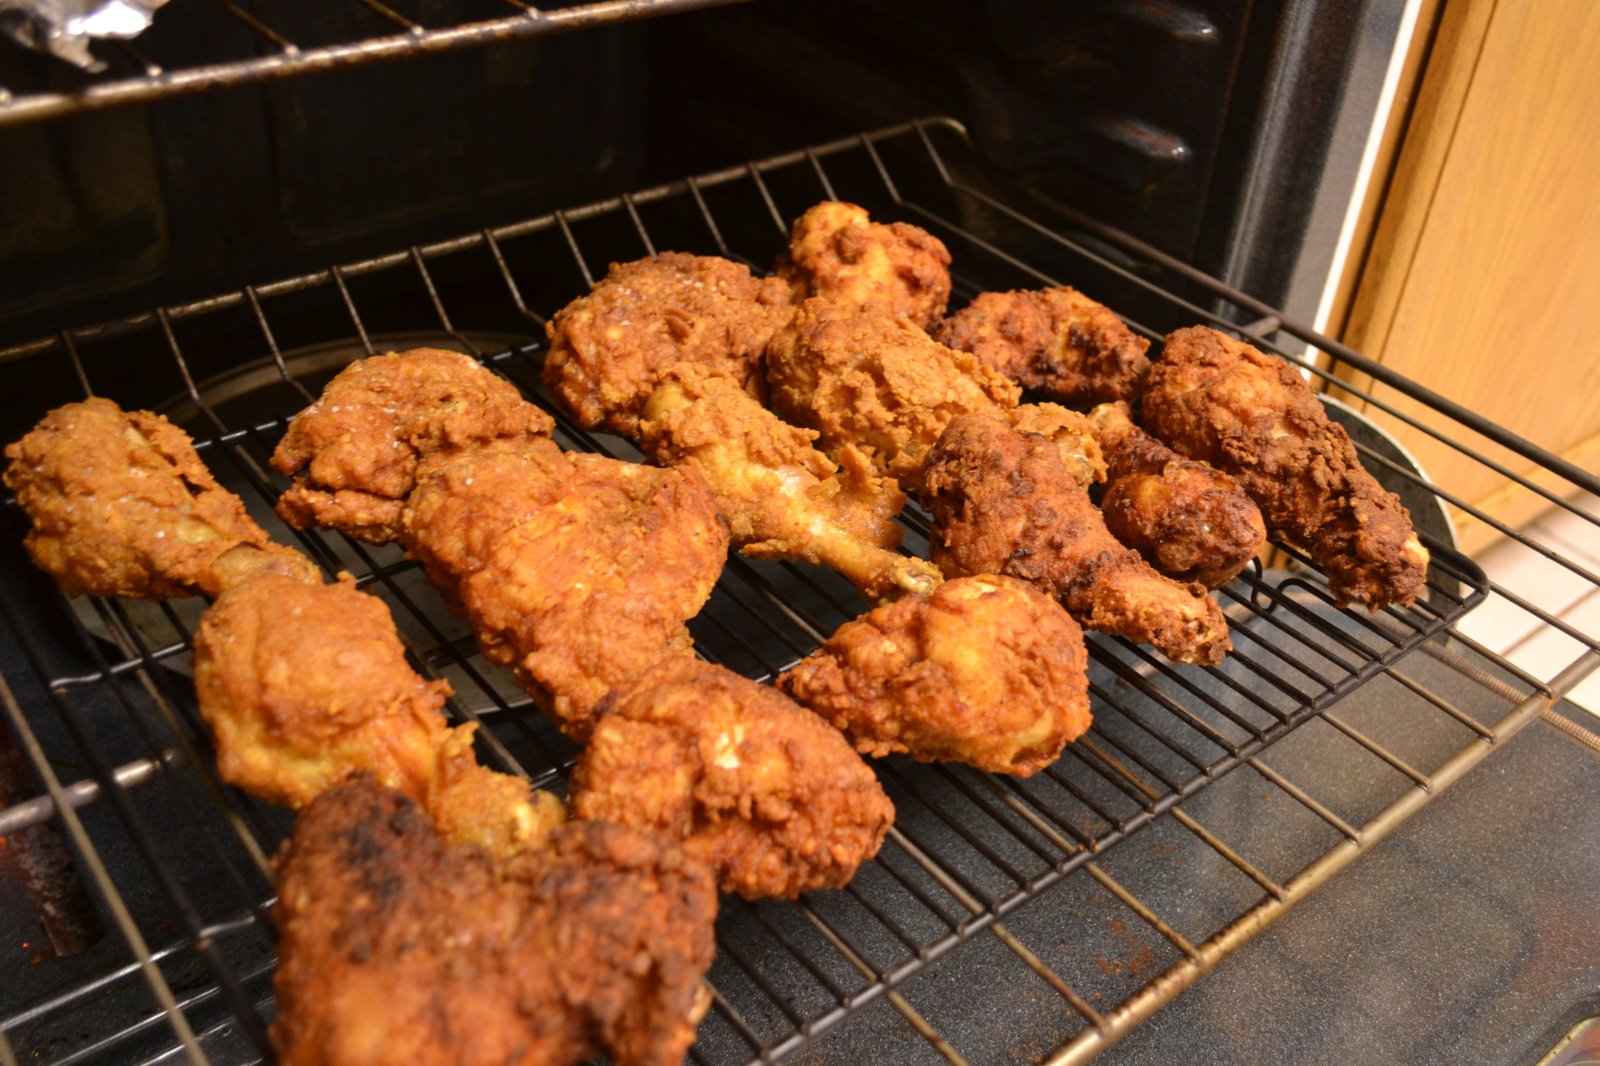 |
| Pictured from left front to right back -Extra crispy wing, breast, leg......did you seriously think I'd go through each piece of chicken and tell you what it is and how crispy it is? |
I forgot to mention that I cooked up mashed potatoes and collard greens (pictured below) before and during this process to accompany the chicken.
 |
| First attempt at collard greens. Pretty easy to make, takes about 2 hours. Was initially a little grossed out by using a ham hock (reddish thing on left of pot under the greens....better you don't see it) so I initially bought salt pork. I went back to store and bought a smoked ham hock after coming to terms with myself and the need for this key ingredient. Any suggestions for the salt pork? |
And after a few hours in the kitchen I ended up with this.
 |
| Winner winner chicken dinner! |
This was another excellent recipe from the man, the myth and the legend but I'd like to take some credit for executing it. The flavor or the chicken was complex and mildly spicy (is than oxymoron?) with a flavorful (I need a thesaurus) crispy crunchy coating. The chicken was moist and juicy and had me coming back for more. This recipe once again receives my 4 clean plates of approval and the new 1 sleeping baby award.

 |
| disclaimer: Chicken is not guaranteed to put babies to sleep. Watching you make the chicken which can take a while does put baby to sleep. Do not poke babies while sleeping. |
Special thanks to my wife for keeping Ally at bay while I was adventuring in the kitchen.
Next up: Chicken Marsala

http://www.foodnetwork.com/recipes/tyler-florence/chicken-marsala-recipe/index.html
I like the 1 sleeping baby award and "don't poke babies while sleeping." Oh - the fried chicken looks good too. Nicely done! :)
ReplyDeleteSo sorry to miss the fried chicken goodness, but I can't wait for the meatloaf tonight (or will it be chicken marsala...).
ReplyDelete