

Yep, there it is! A cherry pie inside of a chocolate cake. Cherries and Chocolate! As American as Peanut Butter and Jelly, the Statue of Liberty, or the Liberty Bell. Actually Cherries and Chocolate were probably put together by some french pastry chef in 1842 but we'll leave it at that unless you want to go investigating it. And if you do, please leave me a comment so we can set this straight.
I got this idea from this article where they made a 3 layer pie cake extravaganza.
http://www.charlesphoenix.com/2010/10/cherpumple-monster-pie-cake-new-test-kitchen-video/
Pretty impressive and I'm sure it tastes amazing or at least full of lots of flavors. Since I'm not an accomplished baker I decided to just attempt one level. This chocolate cherry which I will not refer to as "Chocher". Actually that sounds like a British novelist. Let's go with "Chercho." Hmmm, now it sounds like a mexican dish. How about "the pie cake?" I like that. Simple, yet to the point.
So this is not the first attempt at the pie cake. My first was a vanilla cake with a blueberry pie inside. I didn't cook it long enough so when you cut into it, the whole thing sunk in the middle like a cave in. It still tasted good once you cut out the non-cooked parts and it ended up looking like a coffe ring cake.
 | |||
| Made this around 4th of July, hence the decorations. Notice the sloppy middle. Looks like a melted ice cream cake. |
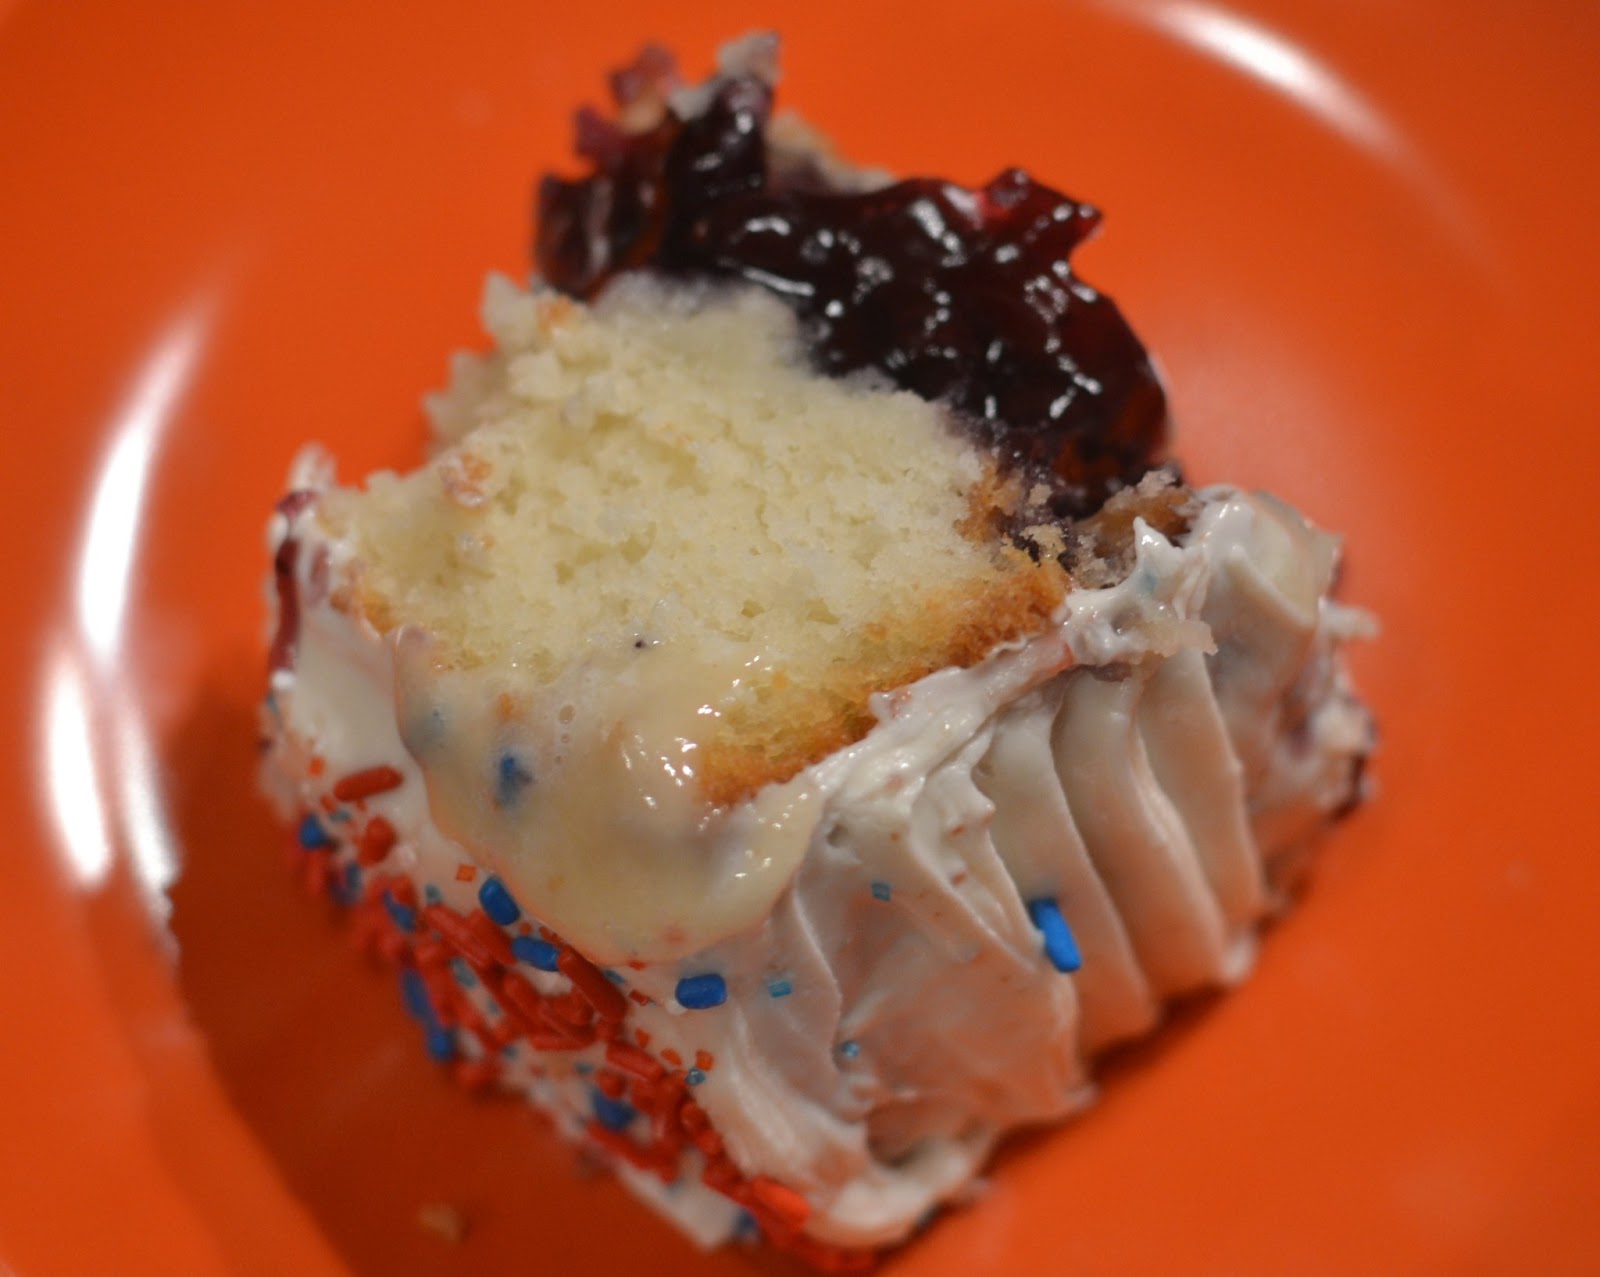 |
| Blueberries and vanilla. A match made in my kitchen. |
Alrighty then, let's get crackin on how I made it and how you at home can make your own pie cake.
Ingredients :
1 box of cake mix (I can't remember the brand I used but any will work)
(whatever the cake mix calls for...probably eggs and oil)
1 cooked pie (room temperature)
1 jar of frosting
Decorations for the cake
Supplies:
9" round spring form cake pan
Non stick cooking spray with flour
So it's a pretty simple list. If you want to go ahead and make your own cake and pie from scratch, by all means knock yourself out. I just wasn't feeling that ambitious nor had the time or patience.
Start by following the directions on the cake mix. Spray the inside of the pan with the non stick spray making sure the get the sides as well. (Side note: Do they make "stick" cooking spray? Isn't the point of cooking spray to be non-stick? Seems redundant having to call it non-stick cooking spray.)
Next pour about 1/4 of the mixture into the cake pan. Just enough to get a nice layer on the bottom.
Next remove the pie from it's container and place at the bottom of the cake pan like so:
 | ||
| Be careful as it's easy for the pie to fall apart if not handled with care. Pretend it's a baby you are putting down to sleep. Be gentle with the baby or it might wake up and you need your rest and time to yourself, so don't wake the baby. |
 |
| This is what happened to my first attempt when I wasn't careful with the pie. Might have also caused the final product to be somewhat or a disaster since the cake batter mixed in with the pie filling. If possible, use a pie that doesn't have holes or lattice work on the top. (See cherry pie above) |
Press it down a little so it goes into the batter but not too much so it hits the bottom. If you do, not a big deal but the goal is to get the pie in the cake, not have a cake on top of a pie.
Now pour the rest of the batter over the pie and make sure it's level before putting it on the oven.
Use the temperature on the cake box but forget about the cooking times. This is where I went wrong the first time. I think it was supposed to take 30-40 minutes and after an hour of testing it still wasn't solid on top. Make sure to cook until the entire cake is done. Probably closer to 90 minutes but keep checking on it. Use the toothpick test, stick it in the top and when it comes out clean you are good to go.
 |
| Finished cooking in the oven. The cake looks a little strange on top and it cracks in places. Nothing a little frosting can't hide. |
Use a spatula and start in the middle, working your way to the outsides and then finally around the sides. It's really an art form and since I've only done it a few times, you might want to watch a video or read how a professional does it.
Finally, decorate with sprinkles or whatever suits your fancy. Here's the finished cherry chocolate pie cake!

Coming up in the next installment:
BBQ - the real way, low and slow. I recently bought a smoker and can't wait to give it a go. Ribs, Pulled Pork, Chicken, and maybe even a brisket!
No comments:
Post a Comment